
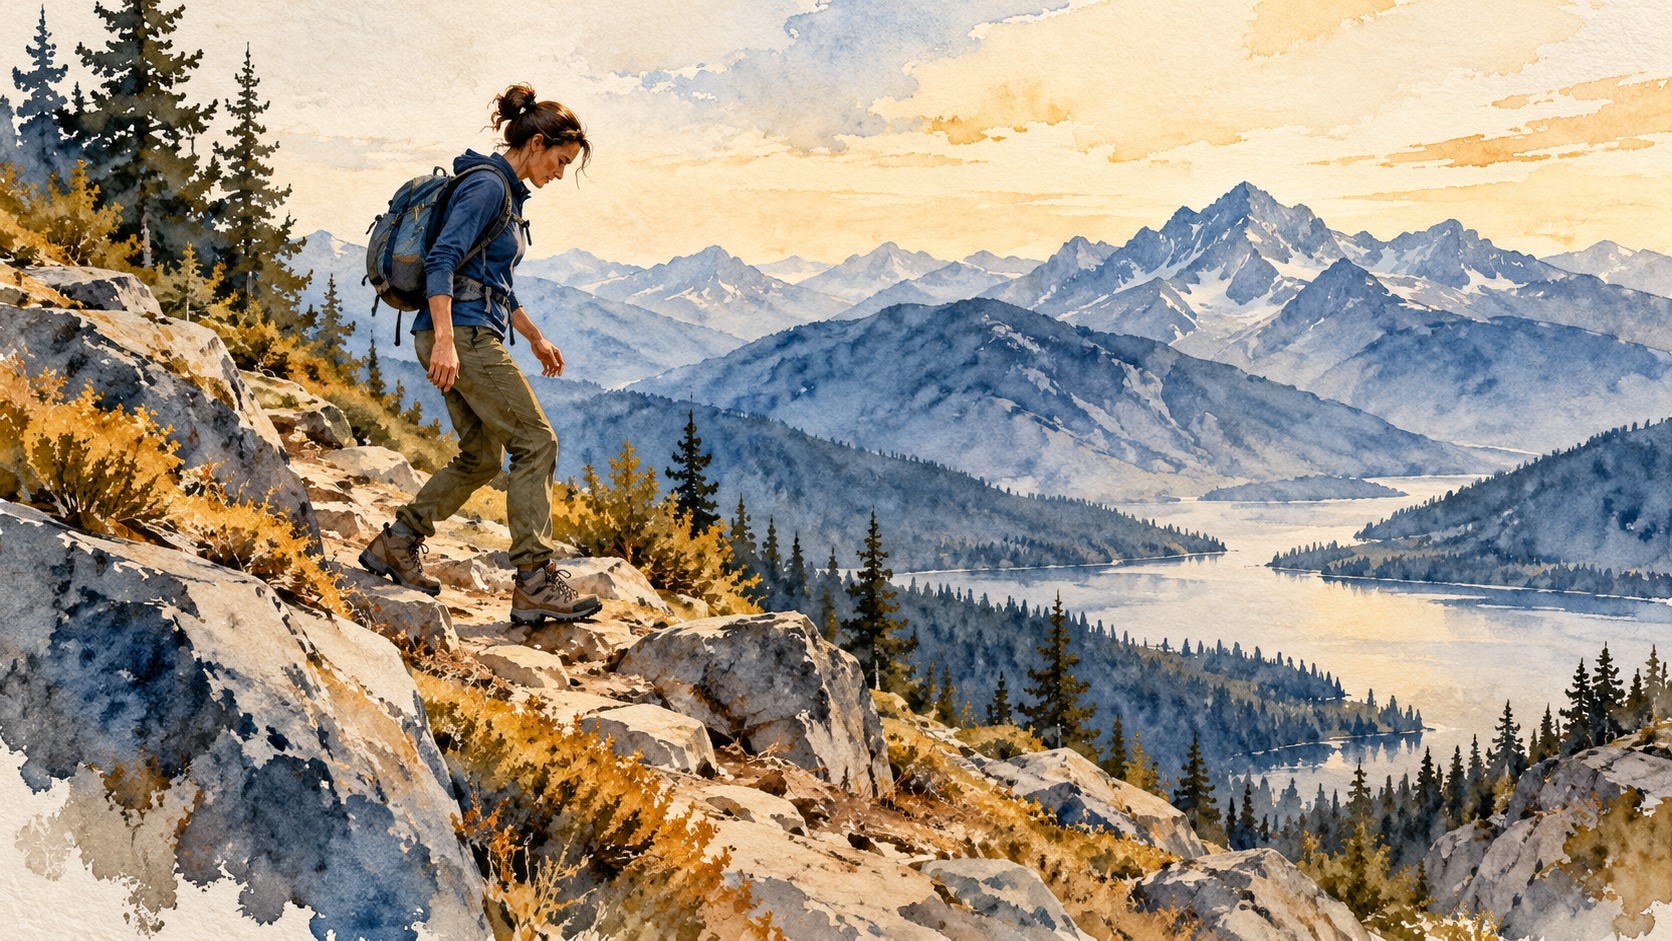
Picture a hike where your knee stays quiet all the way to the summit. Ten minutes into the descent, you're turning sideways to negotiate a step you would usually take without thinking.
The view was worth the climb. Now you're calculating how much trail is left.
Knowing that downhill can be harder on your knees doesn't solve the problem. How do you prepare for the walk down?
Start with three things: strength work that includes controlled lowering, short downhill practice, and trekking poles you know how to use. They do different jobs. Strength builds capacity; practice introduces the terrain; poles give you another way to support yourself on the day.
Train the lowering, too
On the way down, your legs repeatedly control your body's drop onto the next foothold. Your quadriceps—the muscles at the front of your thigh—help brake that movement while lengthening. That's an eccentric contraction.
In a 2016 laboratory study, downhill walking increased estimated quadriceps forces compared with level walking. The study involved 18 healthy men on a ramp. It helps explain the demand; it doesn't establish that descending damages knees or diagnose why yours hurts.
The practical takeaway: include the slow return to the chair or floor in your training. Getting back up is only half the repetition.
A simple place to start
For an otherwise healthy hiker who can exercise comfortably, the following is an illustrative starter session, not a tested downhill rehabilitation protocol. If you have ongoing knee pain, recent surgery or exercise restrictions, have your physical therapist adapt it.
Begin with 5–10 minutes of easy walking or cycling. Try the session on two nonconsecutive days each week, starting with one set of each exercise. Keep the effort manageable, with a few good repetitions still possible when you stop.
| Exercise | How to do it | Example starting amount |
|---|---|---|
| Chair sit-to-stand | Use a sturdy chair against a wall. Stand up, then take about three seconds to sit back down gently. Use your hands or a higher seat if needed. | 6–8 repetitions |
| Low step-up with a controlled return | Use a stable low step beside a rail. Place your whole foot on it, step up, then slowly lower the other foot back to the floor. Hold the rail as needed. | 5 repetitions per side |
| Supported calf raise | Hold a counter, rise onto both forefeet, then lower your heels smoothly. | 8–10 repetitions |
The chair movement gives you a simple way to train thigh and hip strength. The step introduces control on one supporting leg. Calf raises add lower-leg work; they don't replace the knee-focused exercises.
AAOS knee-conditioning guidance includes strengthening the muscles around the knee and a low-impact warm-up. Its exercise instructions also describe step-ups with a slow lowering phase. The small session above is our practical starting example, not a claim that these exact repetitions prevent hiking pain.
Make it harder gradually
When the session feels controlled and comfortable, and ordinary walking and stairs feel normal the next morning, add a few repetitions. Later, add a second set. Increase resistance or step height only after the simpler version is manageable, changing one thing at a time.
If you drop onto the chair or floor, need to rush, or develop knee pain, make the movement easier. Use a higher chair, a lower step, more hand support or fewer repetitions. Persistent pain deserves assessment rather than repeatedly testing it.
For diagnosed patellofemoral pain, a 2024 best-practice guide supports knee-targeted exercise and education, with hip work and other treatments tailored to the person. That supports a role for strength work; it doesn't make one routine right for every painful knee.
Yes, poles can help—with a little practice
Poles let your arms contribute to supporting and controlling your movement. They are useful equipment to try, including while you build strength.
A small 1999 study tested eight men walking down a 25-degree ramp. Using poles reduced several measured or estimated knee-loading variables. Some other reductions, including estimated kneecap-joint force, were not statistically significant.
That is evidence about mechanics, not a promise of pain relief or injury prevention. It also isn't evidence that carrying poles on your pack helps: you have to plant and load them.
To get started:
- Practise on easy ground first. Learn to coordinate the poles and your steps before a rocky descent.
- Adjust for the slope. On sustained downhill sections, REI's technique guide suggests trying poles about 5–10 cm longer than your usual setting. Stay within the manufacturer's adjustment limits and check the locks.
- Establish support before stepping down. Place the tips securely ahead where they won't slip, then use the grips to share some weight as you lower yourself. Avoid reaching so far that you lose balance.
- Keep the movement comfortable. A pole setting that makes you hunch or reach awkwardly needs adjusting. Practise on a small, easy step before relying on it for a bigger drop.
Poles and strength training belong in the same plan. One helps during the outing; the other takes repeated work over time.
Practise the descent before the big hike
A long summit hike is a difficult place to discover your starting point. Choose a short, gentle slope with predictable footing and an easy exit.
For someone already comfortable walking on level ground, a few minutes of easy downhill walking can be an initial experiment. It is not a target to push through. If that is too much, shorten it or return to easier ground.
Repeat a manageable route before adding difficulty. Then change one main demand:
| Progression | Keep the other demands familiar |
|---|---|
| A little more downhill time | Same gentle slope and light pack |
| A slightly steeper slope | Short duration and straightforward footing |
| More uneven terrain | Familiar distance and manageable grade |
| A heavier pack | Familiar route; carry only what the outing requires |
Check your response during the walk, later that day and the following morning. More pain, swelling, limping or harder everyday stairs means the previous dose was too much to build on. Reduce it; seek advice if the pattern persists. If you already have a diagnosed condition, use the symptom limits agreed with your clinician.
This progression is a practical planning framework, not a validated schedule. Your response decides the pace, not a calendar promising mountain-ready knees in four weeks.
Make the hike easier to manage
Before you leave, look at the descent as carefully as the distance. A route that ends with steep rock steps asks something different from a gentle path of the same length.
On the day:
- Choose smaller, deliberate steps where the trail allows, rather than dropping off large footholds.
- Use established switchbacks instead of cutting straight down the slope.
- Allow enough time to descend without rushing.
- Take breaks before fatigue makes your steps difficult to control.
- Reduce unnecessary pack weight while keeping essential safety supplies.
These are route and pacing choices, not guarantees against pain. If symptoms are changing how you walk, reassess the outing instead of treating the summit plan as a commitment you must finish.
Seek prompt medical assessment for a knee that locks, gives way, becomes markedly swollen or cannot bear weight. A hot, red knee with fever also needs urgent attention; see NHS knee-pain guidance.
References / Sources
- Alexander and Schwameder, 2016: Sloped walking and lower-limb muscle forces. Healthy-volunteer biomechanics; model-estimated forces.
- AAOS: Knee conditioning program and knee exercises. General exercise guidance; individual rehabilitation needs vary.
- Neal and colleagues, 2024: Best practice guide for patellofemoral pain. Diagnosis-specific exercise and education guidance.
- Schwameder and colleagues, 1999: Knee joint forces during downhill walking with hiking poles. Small laboratory study, not a clinical pain or injury-prevention trial.
- REI: How to use trekking poles. Equipment technique advice.
- NHS: Knee pain. Symptoms requiring assessment.
The Bottom Line
Build strength, practise short descents, and learn to use poles before the demanding hike. Start with a manageable chair exercise and low step, then make the work harder as your control and response allow.
Your first goal is modest: finish a small descent with controlled steps and feel no worse in everyday movement the next morning. Build from there.
For a personal account of rebuilding movement after surgery, read 6 Things I Wish I Knew Before Knee Surgery.
Getting to the summit is one goal. Enjoying the way home deserves preparation, too.